
|
mcdcm viewer Basic Tutorial (OsiriX) |
| Overview |
Step 1: Identifying the T2* Series in OsiriX Step 2: Merging the Individual Images (if necessary) Step 3: Exporting the DICOM files to desktop Step 4: Loading in to mcdcm |
| STEP 1: Identifying the T2* Series in OsiriX |
The T2* series is usually 1 series with between 8 to 24 images. At this point, just skip to STEP 3.  Sometimes, the "series" has been fragmented into multiple single images:  |
| STEP 2: Merging the Individual Images |
The best way to approach fragmented images is to merge them into 1 series. Hold Ctrl while Left-clicking to selected all the relevant images. 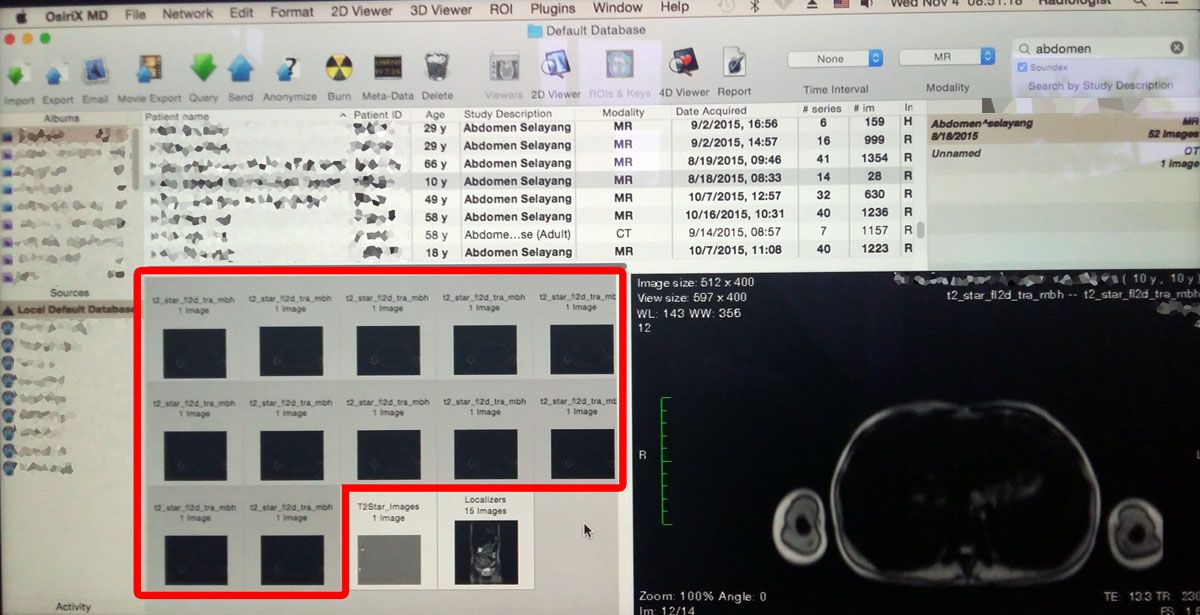 Right-click and select "Merge Selected Series" 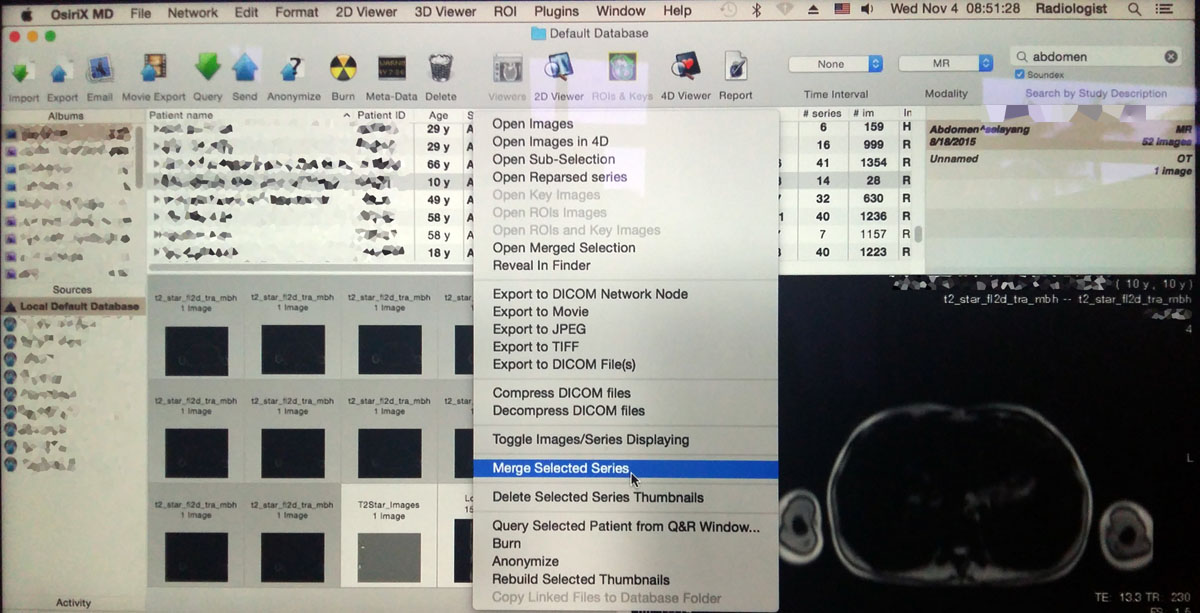 Click "OK" to allow merging 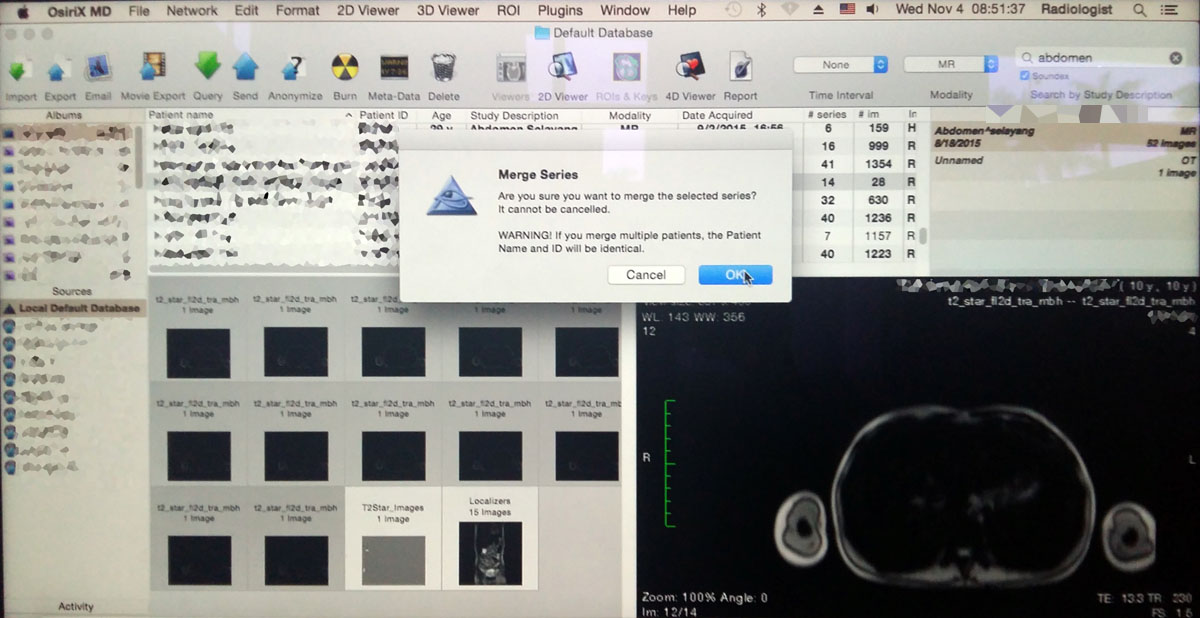 The result should be a single series with multiple images (the number of images you had selected) 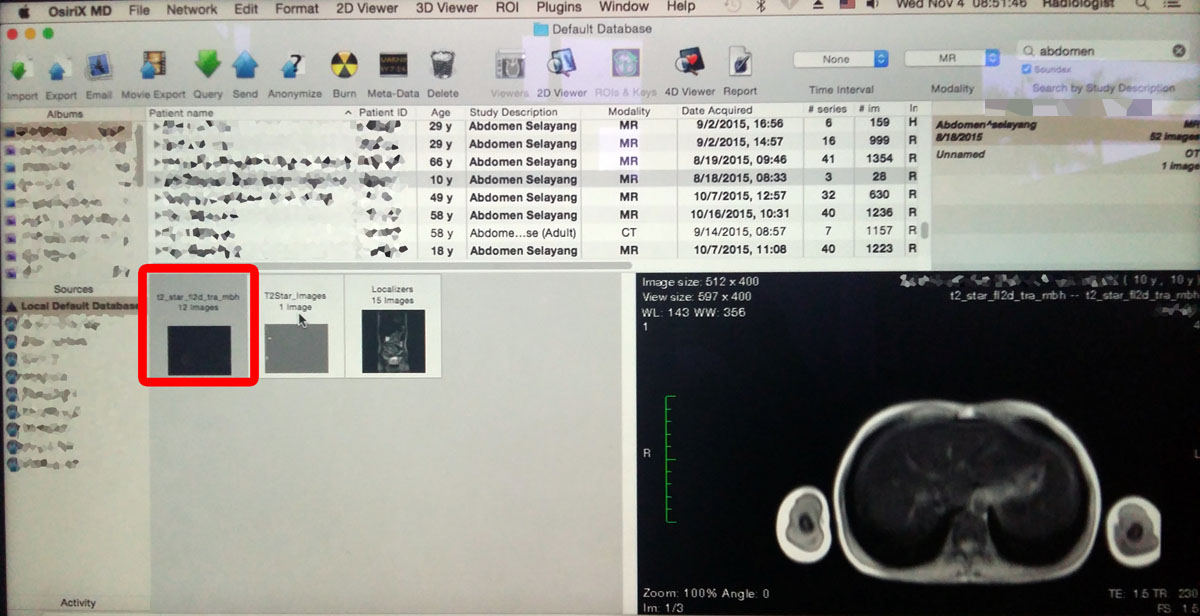 |
| STEP 3: Exporting DICOM files to desktop |
Right-click on the T2* series and select "Export to DICOM File(s)" 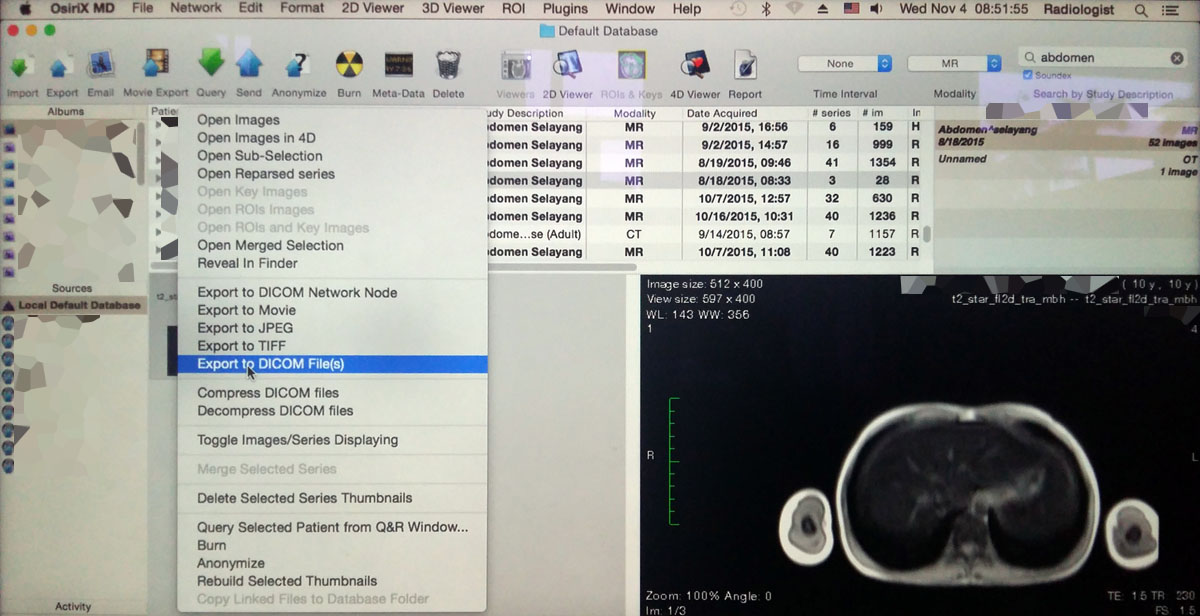 Select the Desktop as the location. You need to ensure the files are Decompressed and Zipped. Please do not password-protect the Zip file 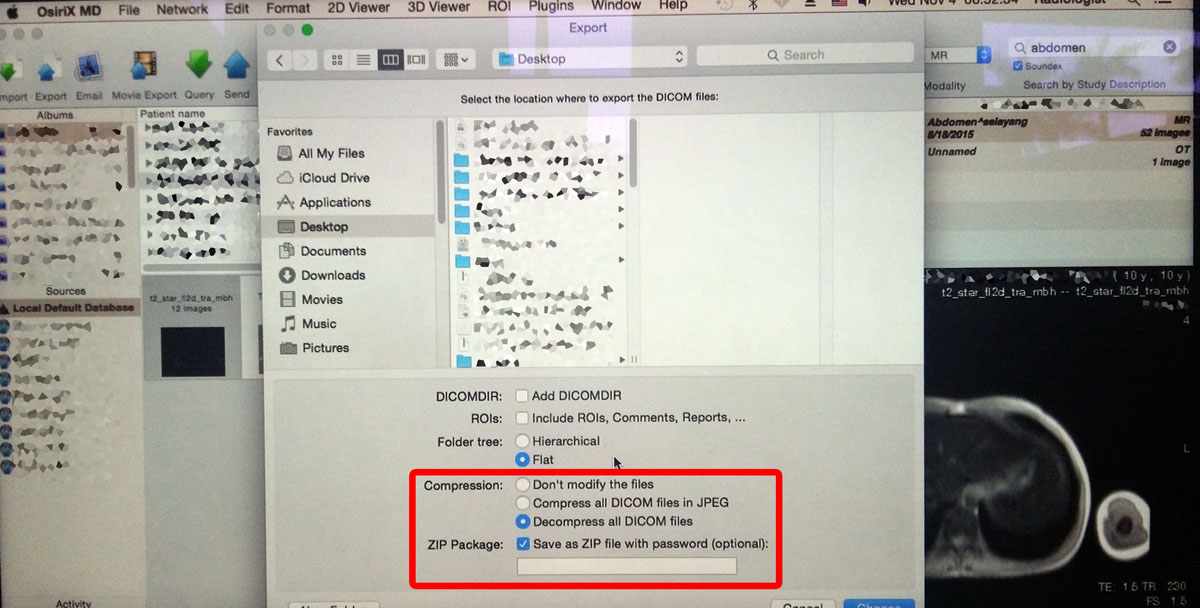 The result should be a new Zip file on your desktop 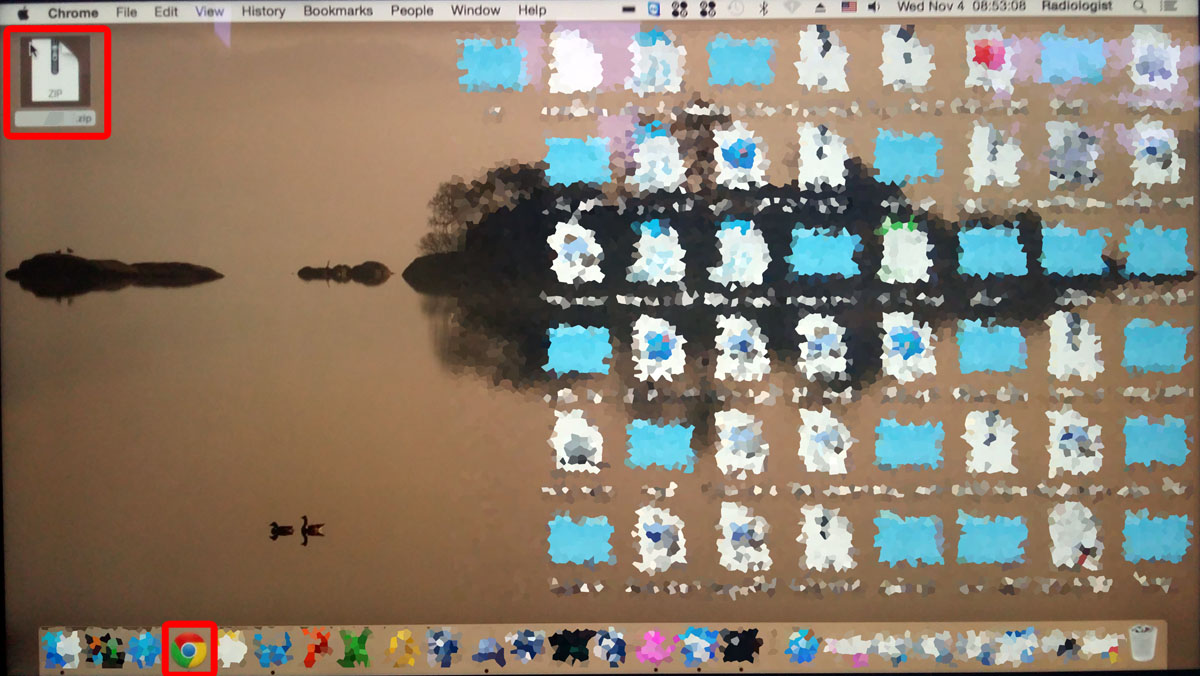 |
| STEP 4: Loading into mcdcm |
Open the mcdcm viewer in Google Chrome (either from the online site or from your local file) and drag the Zip file from your desktop to mcdcm viewer  If successful, the DICOM file should open. Scroll through the stack to confirm that the images are correct. 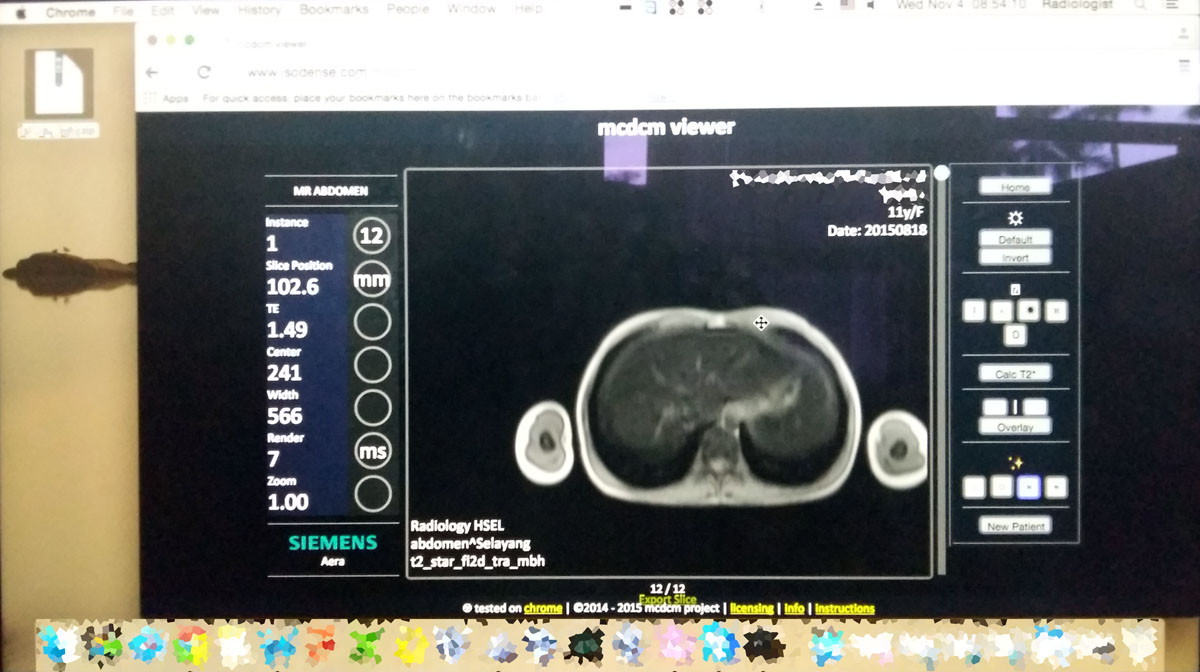 Draw the ROI either using the Circle or Polygon tool and click on "Calc T2" 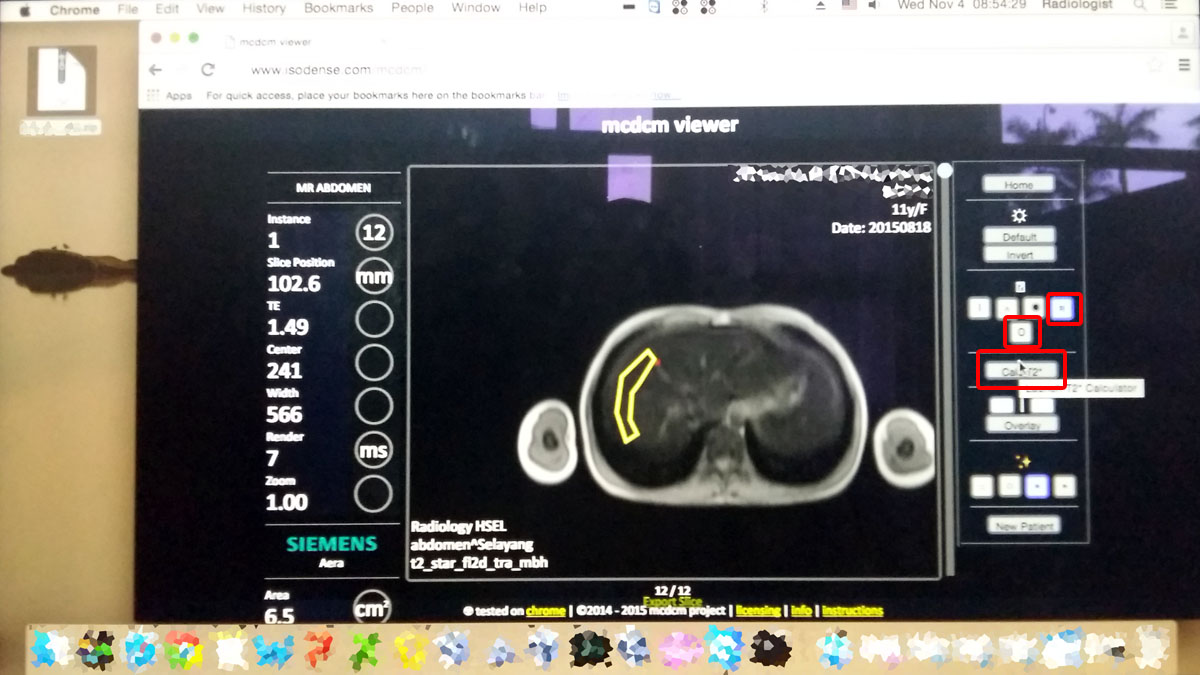 The iron calculator should load  |